ATEasy 7.0 has the capability to control two types of USB devices, USBTMC instruments and USB RAW instruments.
The following steps will outline how to install, configure, and use the Keithley 2100 USBTMC DMM instrument - this procedure can be applied to other USBTMC instruments:
- Plug your USBTMC device into an available USB port on your PC
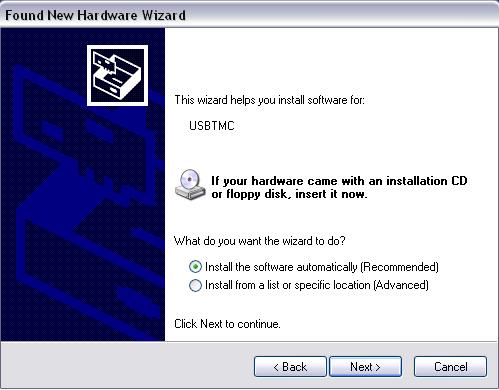
- When Windows finds the new hardware, install either the VISA (if you have installed NI VISA for example) USBTMC driver or the Geotest HW driver
The Geotest HW driver inf file can be found in Program FIiles\Geotest\HW\Hw.inf
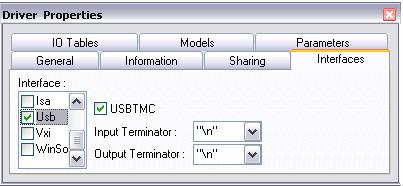
- From within ATEasy, verify that the driver module you want to use supports USBTMC by checking the driver properties. Make sure the USBTMC and USB checkboxes are set
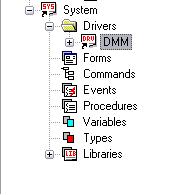
- Insert the appropriate driver into your System module
- Right click on the driver shortcut and go to the properties to select "USB" within the interfaces tab. Select your USBTMC device in the drop down menu labled "Device".
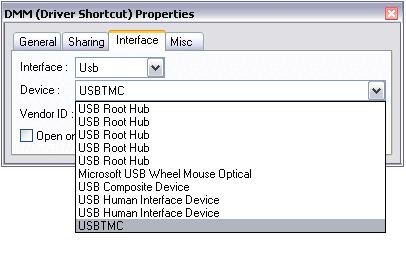
- Make sure the Vendor ID, Device ID, and Serial Number match your device.
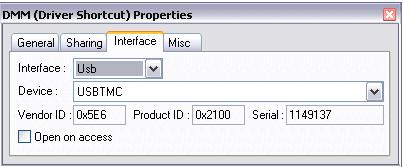
- Your USBTMC device can now be used in ATEasy by accessing the configured driver.
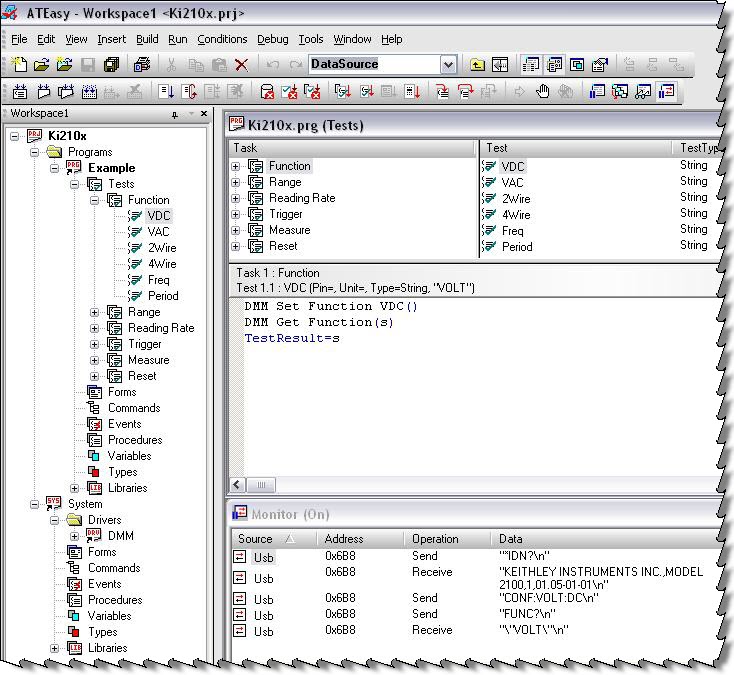
USBTMC devices can also be accessed using the built in ATEasy internal procedures for USB such as USBOpen(), USBSetup(), USBSend(), etc. More information can be found in the ATEasy help under the USB heading.
|