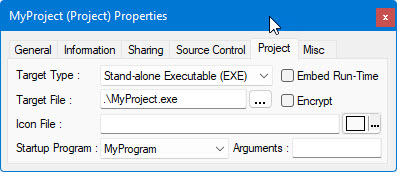
You are now ready to build and execute your program. If you go to the Properties page for your project, you can see the default name of the executable file that will be created on the Project page:
1. Select Build from the Build menu. Note that the Build Log tracks the compiling process and indicates when it finishes. Once the Build finishes, an EXE file is created.
2. Select Execute! from the Build menu to run the executable (.EXE) file you just created. Alternately, you can use Windows Explorer to run the EXE file as in other Windows application. Your application will now run.
You can freely distribute the EXE file generated by ATEasy to your end users. Similar to other programming environments, the end user must install the run-time version of ATEasy as well as all external files your application uses, such as DLLs and ActiveX controls.
Before continuing with the example, you need to remove the test executive driver from the system.
1. Select the TestExec driver, in the Workspace window.
2. Select Delete from the Edit menu. The driver is now removed from the system.
3. Click Save All from the Standard toolbar to save your work.
4. You will be prompted to enter a file name for a workspace file. Type C:\MyProject\MyWorkspace and click OK.