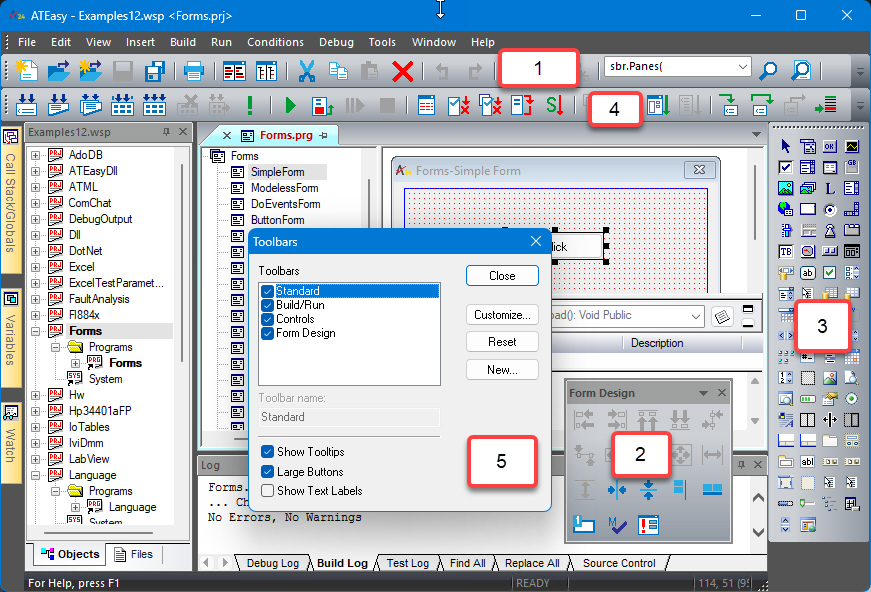
Toolbar commands duplicate commands from the menu bar and are a convenient way to select commonly used program functions. Callouts 1 through 6 are described below.
Capabilities |
Examples from Above Figure |
Toolbars can be docked or undocked (floating). |
1, 4, and 3 are docked; 2 are undocked (floating). |
Toolbars can be horizontally or vertically oriented. |
1 and 4 have a horizontal orientation; 3 has a vertical orientation. |
When undocked (floating), the toolbars may be positioned inside or outside the ATEasy window. |
2 is partially outside; 4 is inside. |
Toolbars may be resized. |
2 has been resized from a horizontal or vertical orientation to a window that is more square. To resize a floating Toolbar window, place the mouse cursor over one of the window corners, then click and drag. |
Toolbars may be turned on or off (displayed or hidden). |
To control which toolbars are displayed, select View from the menu bar, then select Toolbars. Toolbars with a check mark in the check box are displayed. Note: some toolbars only display when an appropriate object is selected — even though the Toolbar display has been turned on. For example, the Controls toolbar is only displayed when a form object is selected. |
Toolbars may be modified by either removing existing commands or adding a new command. To modify a toolbar, select the Customize... button from the Toolbars window (callout 5 above).
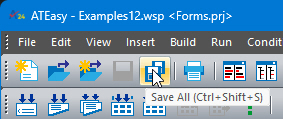
While the Show Tooltips option is turned on ( the Show Tooltips check box contains a check mark), a Tooltip prompt is displayed near the mouse cursor that identifies the toolbar function (callout 5 above).
In the example to the right, the mouse cursor is moved over the Save All icon and the tooltip prompt is shown just below. The Tooltips prompt is helpful while you are learning to use ATEasy. The Status bar at the bottom of the ATEasy window displays an extended prompt when you pass the mouse cursor over a Toolbar icon. |
|