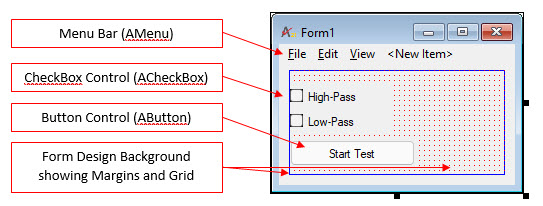
Sitting by itself, an newly created empty form background is not of great use. It needs to be populated with controls and menus. Controls are the user interface elements through which the user makes choices or reads information. Text boxes, checkboxes, list boxes, and charts are all examples of controls available in ATEasy. Controls have their own properties, methods and events that make them suitable for particular purposes, for example, displaying text, or allowing the user to scale a value. Menus allow users to select actions from a list; in ATEasy, menus allow users to select from a number of procedures defined by the person creating the form. When the menu item is chosen, an event is generated which can be used by the application to perform the action specified in the menu.

To add a control to a form in ATEasy
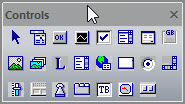
is easy. Click on the desired control icon on the Control Toolbar (shown
below) and then click and drag in the form client area to size the control.
In this example, the label control ![]() will be added to the form.
will be added to the form.

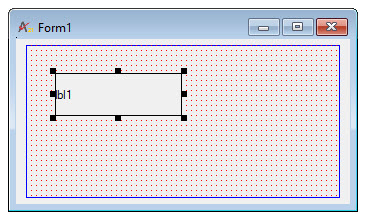
The new Label on the form will initially look like this:

The control can be moved around the client area of the form by dragging with the mouse and can be resized by dragging an edge of the control's border by one of the handles.
Alternatively, you can select the control by pressing the TAB key until the focus rests on the control. Then, you can use the arrow keys to move the control about, and resize it using SHIFT and the arrow keys.
For more information on what controls can be added to forms, see:
Controls For Displaying And Entering Text
Controls That Present Choices To Users