The first step in developing an ATEasy application is creating the project.
To create a new project:
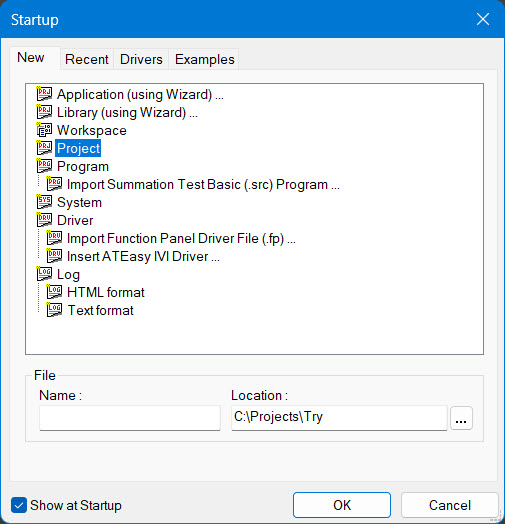
Select New from the File menu. The New dialog box appears:
Click the Project icon, then click OK. The new project is displayed in the ATEasy workspace.
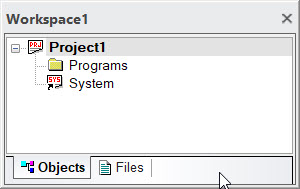
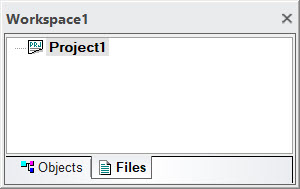
A new project contains an empty folder for Programs and the System icon (without an actual system). Click the plus sign to the left of the project to expand the project and show the Programs and System icons (in the Objects view). For the Files view, it shows only one file which is the project file:
|
|
The newly created project does not have any modules or code. A project must have either a system or a program to become an application. However, a project must have a system if the use of drivers is required, as the system is the only module that accepts drivers as sub modules.
For instructions on naming the new project and setting its other properties, see Setting Project Properties.