Solution:
Note: HW v3.0 and above automated the process described below. You can configure the chassis from the HW PXI/PCI Explorer applet that can be found the Windows Control Panel using the Scan for New Devices and clicking on the Save button.
Download and install the GxChassis package, found in the download section of the Geotest website. Once this package is installed, all the chassis INI files can be found at the following path: C:Program Files\Marvin Test Solutions\GxChassis\INI Files\.
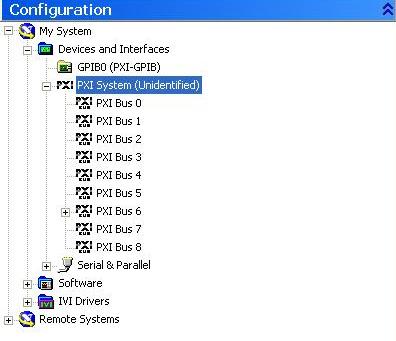
In NI Measurement & Automation Explorer (NI-MAX), right click on "PXI System" and select "Show PXI Buses". Typically, multiple buses will be shown, and the chassis may be associated with any one of these buses (depending on chassis type).
Starting from the first bus listed, right click and select "Identify as a PXI Chassis". Then choose "other chassis" and select the Geotest .INI file that corresponds to your chassis.

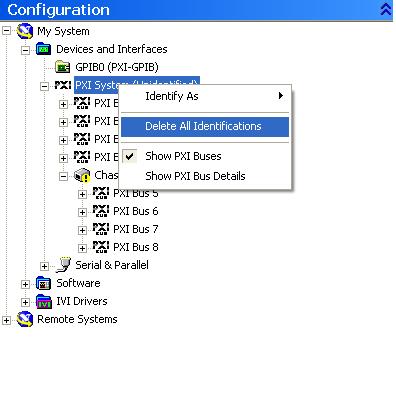
In case of an error message ("This chassis has been identified but is not described in the pxisys.ini for this system") right click on "PXI System" and select "Delete All Identifications".

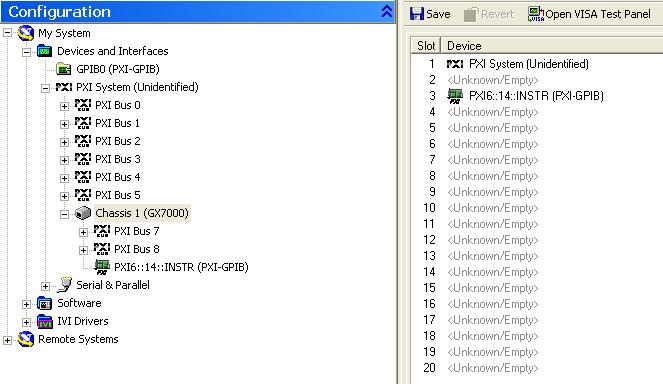
Repeat steps 1 through 3 listed above, using the next bus in sequence, until NI-MAX properly identifies the correct Geotest chassis.
Right click on "PXI System" again, and deselect (uncheck) "Show PXI Buses".

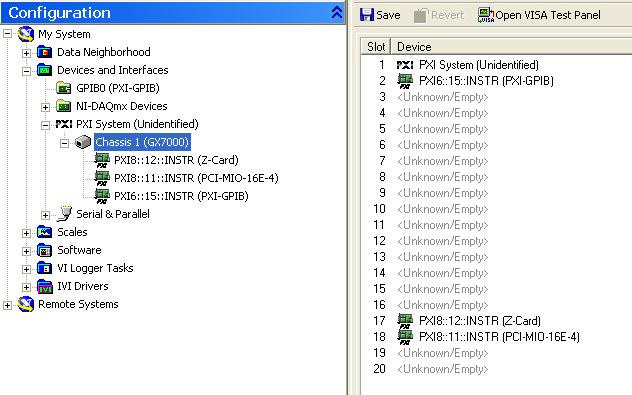
You will now be able to view and configure your chassis and its resources, using NI Measurement & Automation Explorer (NI-MAX) 4.1+.

|